![]() Botanical Photography-8
Botanical Photography-8 ![]()
| The
Light Meter in simple camera usually has a needle,
a bracket and +/- markings. When
the needle is in the center of the bracket, If the needle is on the plus side, there is too much light. If it is on the minus side there is not enough light! HINT!!! To get saturaing colors it is best to expose your film slightly underexposed (slightly negative). I always bracket my photos (slightly +, middle & slightly -) if they are important. The position of the needle is dependent on four factors. A] The amount of ambient light |
|
| To
see how this works, Focus on a subject and note the position of the arrow. Rotate the Shutter Speed knob and see how the needle behaves. You could do the same with the ASA settings but this is harder to do. |
|
| In
most cases you adjust the shutter speed or the lens aperture to get a proper exposure. However, at shutter speeds below Consequently, you could be limited to exposures of 1/60 sec. or less for field photography. This is impractical! Hence, you will need to alter the lens aperture to allow more light to reach the film. |
|
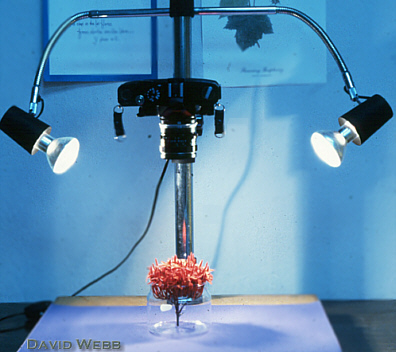
| The
camera lens contains an iris diaphragm like the one in the field
diaphragm or condenser of your microscopes. There are numbers called f-stops on the camera lens which indicate the diameter of the camera iris. The f-stops on my lenses range
from 4-32. At f- 4 the iris is
completely OPEN! At f- 32 it is narrow! |
|
 f-4 Maximal Aperture |
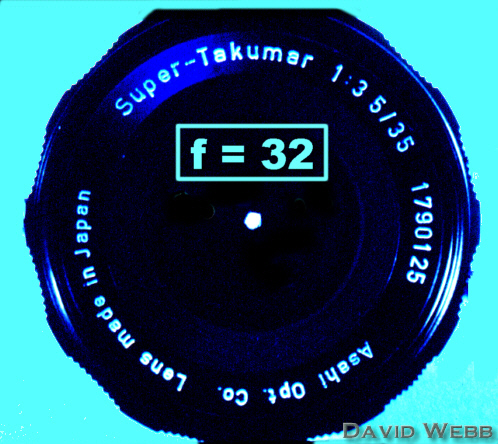 f-32 Minimal Aperture |
![]()
![]()